Note: I don't personally use OS X, so I'm not particularly familiar with it. These instructions are as good as I can get them, but it's possible you may need to do some additional tweaking to get them to work.
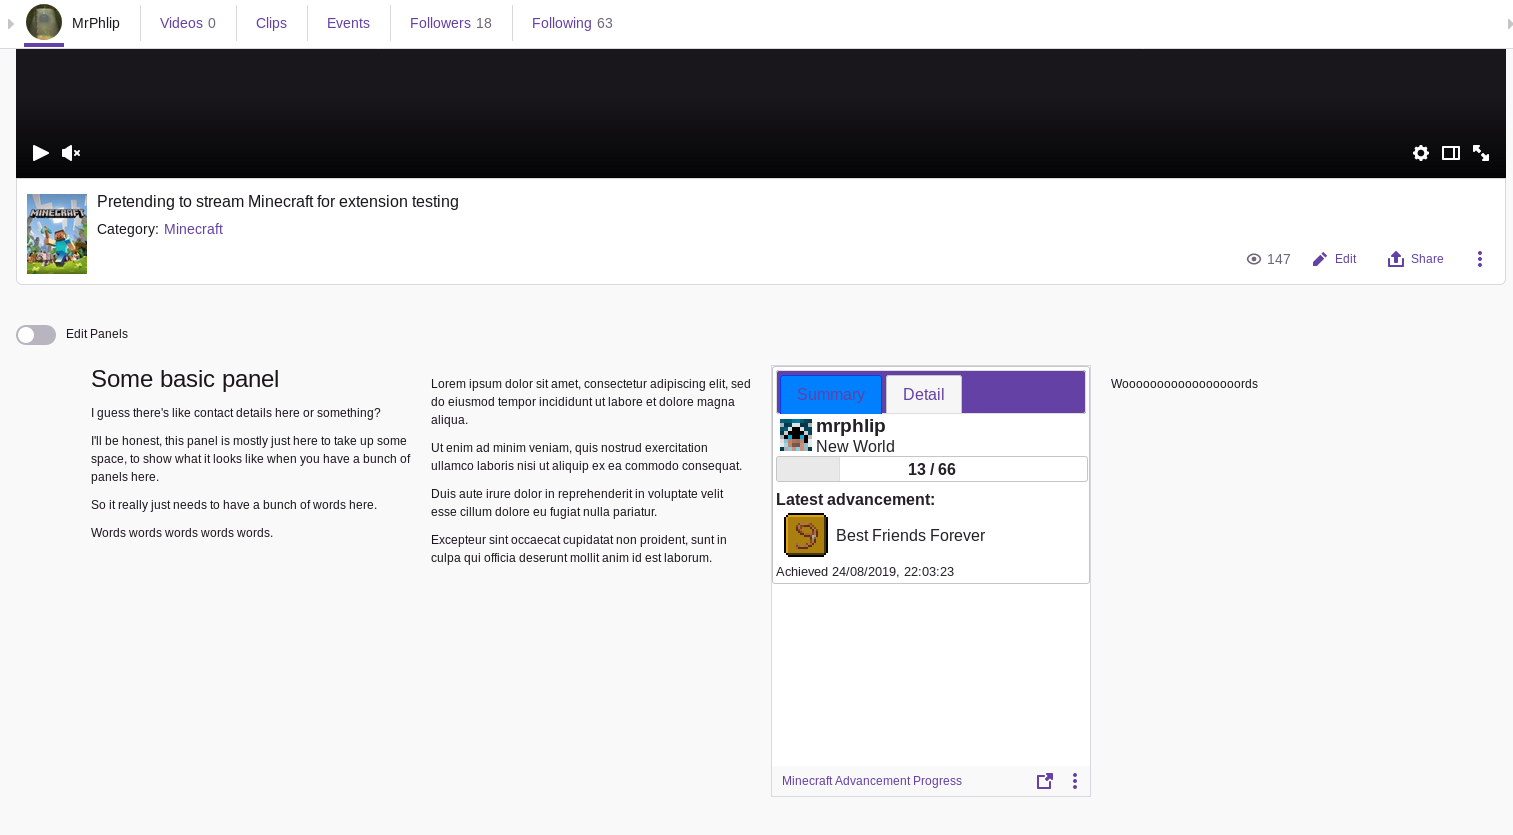
Minecraft Advancement Monitor is a Twitch extension, which allows viewers of your stream to see a live-updating readout of what in-game advancements you have unlocked.
A small utility runs on your computer, monitoring the Minecraft world, to see when new advancements have been unlocked, and updates the panel automatically, so viewers immediately see the latest information available.
Ideal for Minecraft streamers doing challenge runs, such as HCMC100, who want their viewers to know how the challenge is progressing.
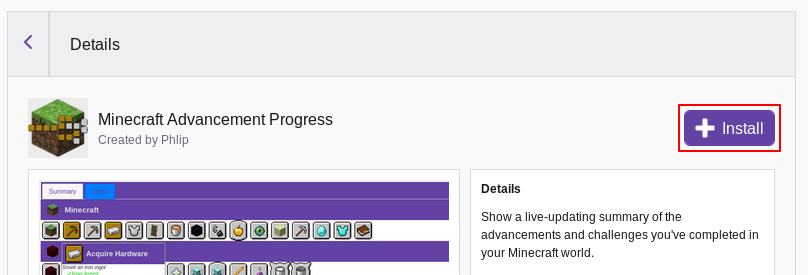
To add the Twitch extension to your channel, go to the extension's page on Twitch and click the Install button in the top right.
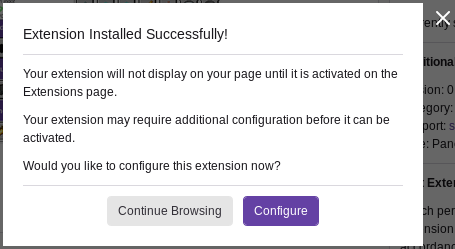
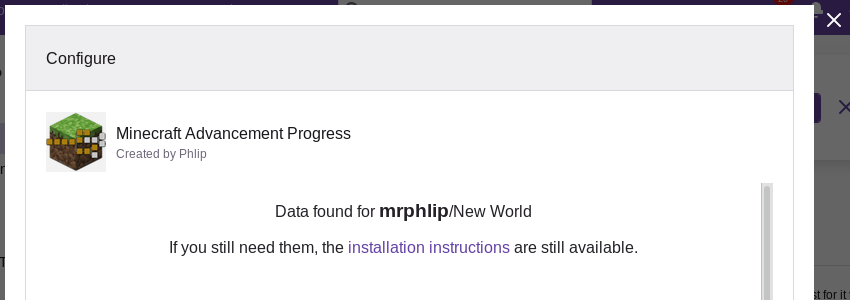
Once the extension is installed, click the Configure button on the confirmation popup.
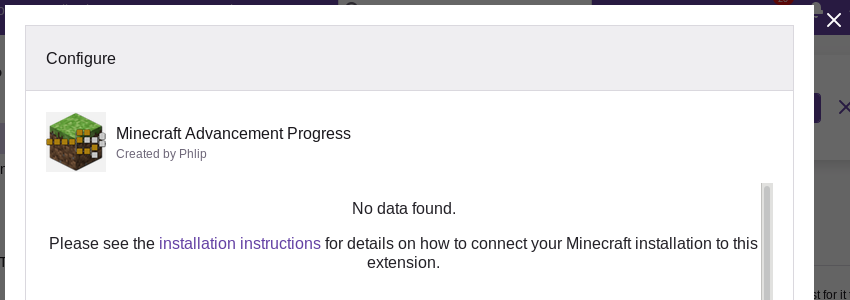
This will take you to the configuration screen, which will show that no Minecraft data has been found, and a link which directs you to these instructions.
The monitor utility can be downloaded from:
https://www.mrphlip.com/mc_twitchext/mc_twitchext.zip
https://www.mrphlip.com/mc_twitchext/mc_twitchext.tar.bz2
https://www.mrphlip.com/mc_twitchext/mc_twitchext.dmg
Download and open that file, and run the program inside.
The code for the monitor utility can be downloaded from:
https://www.mrphlip.com/mc_twitchext/mc_twitchext_src.zip
Or, it can also be found on GitHub.
Once you have the source, you will need to get Python 3, and install the dependent libraries.
Python 3 can be downloaded from:
https://www.python.org/downloads/windows/
Download and install the Latest Python 3 release. While running the installer, be sure to choose the option to add Python to your system PATH.
Open up the Command Prompt, and go to wherever you downloaded the source to, and run:
> pip install --user pipenv
> pipenv install
You can then start the client by running:
> cd client
> pipenv run python main.py
Python 3 can be found from most Linux distribution's package managers, consult your distribution for more details. For Ubuntu, the command to run is:
$ sudo apt install python3 python3-pip gtk+-3.0
Note that depending on your distribution, this may not install the most recent version of Python. For example, as of this writing the current Ubuntu LTS installs Python3.8 instead of Python3.9. In that case, you can either install Python3.9 from deadsnakes, or edit the Pipfile to change the python_version to the version you have available. Any reasonably-recent version of Python3 should work fine, though I haven't extensively tested this.
Python 3 can be found in Homebrew. If you don't already have Homebrew installed, install it first, by opening the Terminal app, and entering:
$ curl -fsSL https://raw.githubusercontent.com/Homebrew/install/HEAD/install.sh | bash
Then, install Python 3 with:
$ brew install python3
Once this is installed, go to wherever you downloaded the source to, and run:
$ python3 -m pip install --user pipenv
$ python3 -m pipenv install
You can then start the client by running:
$ cd client
$ python3 -m pipenv run ./main.py
The first time you run the monitor utility, it will ask you to go through some configuration to set up which Minecraft world to watch, and to link it to your Twitch account.
The first dialog to open is to set up which Minecraft world to watch.
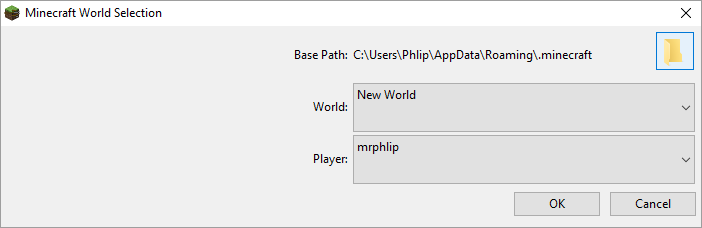
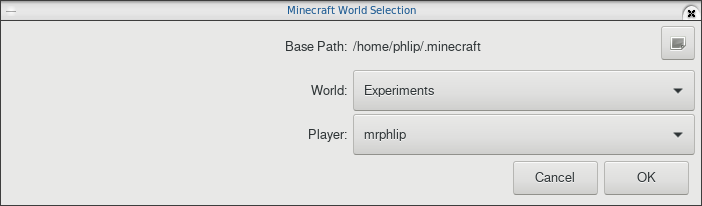
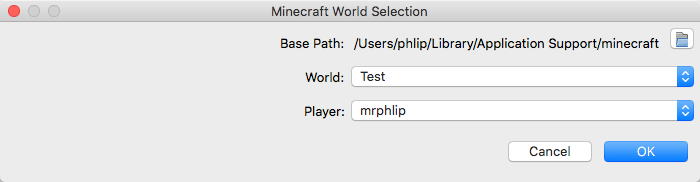
The "Base Path" is the folderdirectory where Minecraft's data is being stored. If you're using the standard Minecraft launcher and haven't tinkered with anything, this should already be pointing to the correct location. But if you have customised the location, or are using a different launcher, you can change this to point to the appropriate data location.
Then, you should be able to pick a World from the list available, and then select a Player (normally there will only be one player to choose – you – but if you've opened the world to LAN play then possibly there are others).
After you click OK, then the next dialog is to link to your Twitch channel, so it can send the advancement data to the extension.
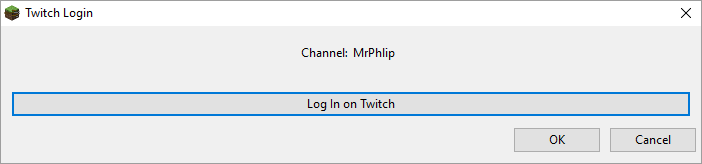

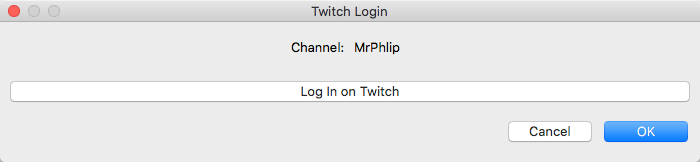
Click on the "Log In on Twitch" button, and it will open your web browser and direct you to the Twitch login page.
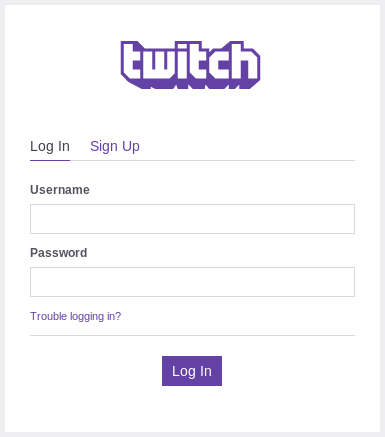
Enter your Twitch login details if necessary, and then you will be asked to authorise the Minecraft Advancement Progress utility to view your public account information:
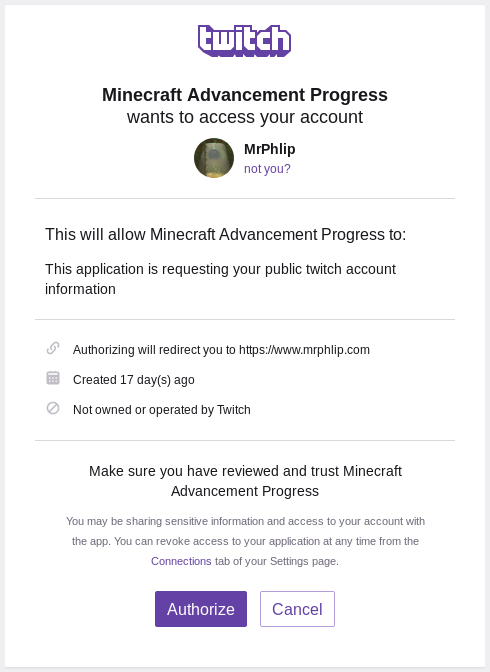
Click on Authorize, and you will be presented with a code:
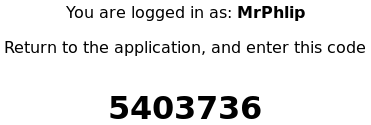
Return to the monitor utility, and there will be a dialog asking you for this code:
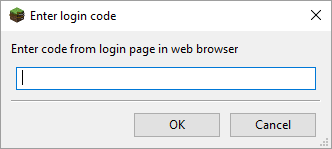
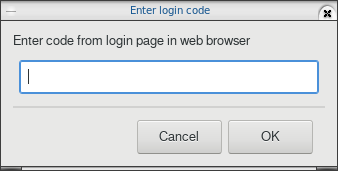
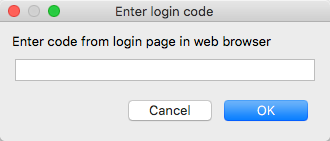
Enter the code and click OK, and it should show your Twitch channel name on the login setup screen.
Click OK and it will bring up the main Monitor window.
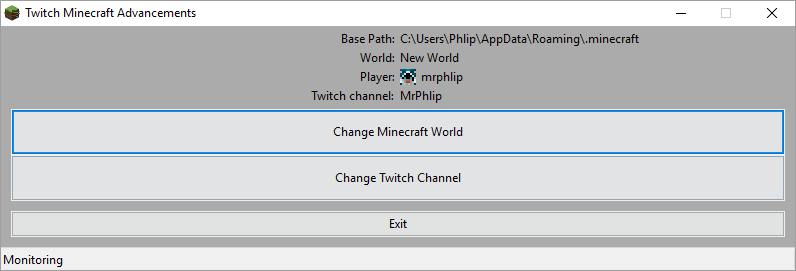
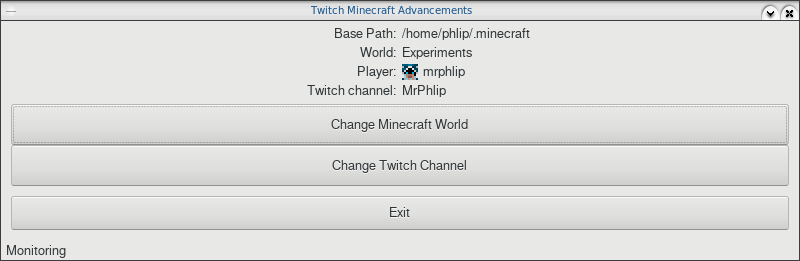
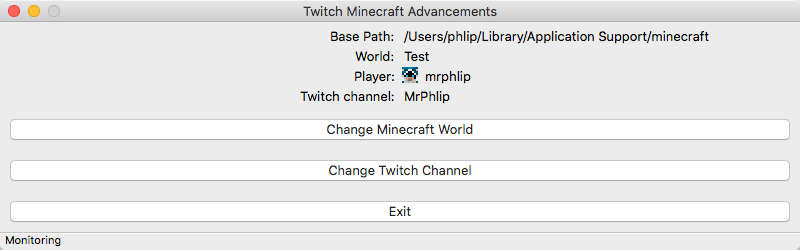
While this window is open, it is monitoring the advancments data for the selected world, and uploading it to the Twitch extension whenever it changes. You can click the two buttons to change the settings, for example if you make a new world in Minecraft, you can click "Change Minecraft World" and choose the new world.
Note 1: Minecraft doesn't save the advancement data immediately as soon as you unlock a new advancement, but only does so periodically as it saves the world. As a result, when you unlock an advancement it won't show up in the extension immediately. If you want to force an update, pressing Escape to pause the game, or pressing L to open the advancements page, I find causes it to save immediately, so the monitor can pick it up. Or, alternately, you can just wait, and it will update on its own eventually.
Note 2: The monitor utility will need to be running whenever you're streaming Minecraft, in order to send new updates. While you're offline, you can close the utility, and the panel will show the latest information available from when it was last running, so viewers can check your page and see your progress, even between streams.
Once you have the monitor utility running, if you return to the Twitch configuration page, it will now show that there is data available:
Click the cross in the top right to close the configuration popup, and then click Activate on the extension.
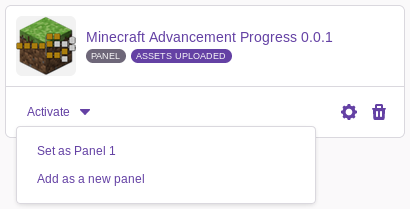
Choose to either set the extension on an existing panel, or add a new panel. You can have three different extensions on panels on your channel at any one time.